I've found these great little Market Totes and they are perfect for kids. I plan on using them for Easter baskets this year and then they have something to tote all their treasures around in. The full size ones would be great for Wedding Shower gifts and Wedding presents. Can you imagine putting a monogram on them or last name and then adding some embroidered towels. What a perfect gift.
I have the Singer Futura XL400 and the instruction and software are for that machine. Hopefully you can use the information on your machine.
First of all, I love how they are completely collapsible. Here's how they come.
The first thing you need to do is slide the tote off of the frame and then turn the tote inside out.
I hoop 2 layers of tear away stabilizer. I also draw lines on my stabilizer to show the center of the design. (Ignore my filthy hoop)
Then spray the stabilizer with a temporary adhesive. I use Temp Spray from PinPoint Embroidery, but 505 is basically the same thing.
Then place the tote on the stabilizer making sure you center as best as possible. Once you have it where you want it, smooth out so it sticks and then pin to secure.
Make sure the bottom of the tote is on the side that attaches to the embroidery unit.
Carefully, slide your hoop on the machine. This takes a little practice but will fit. Make sure the opening of the tote goes over your machine so that it doesn't get hung up on anything.
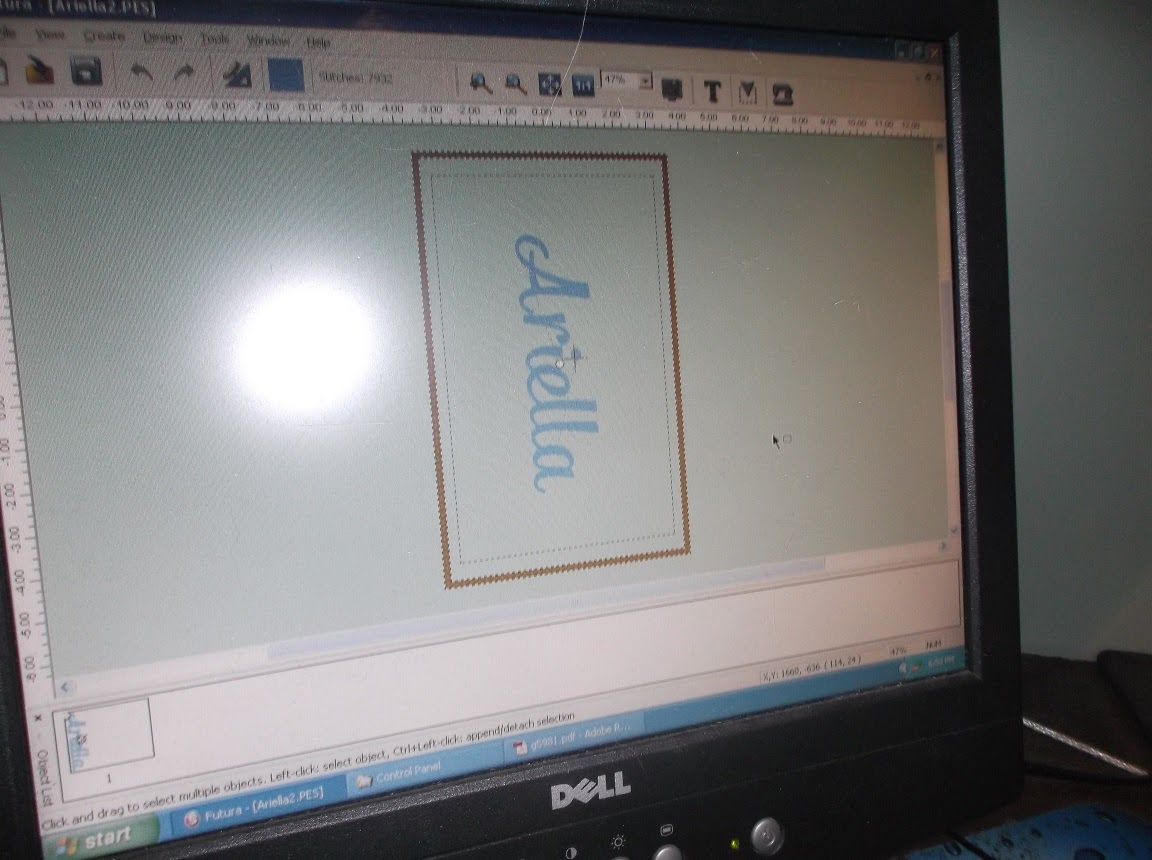
Before you send your design to stitch out, make sure it is going the correct direction. If not, rotate design.
In the Futura software you have the option to trace design. I always do this first so that I can see where the design will stitch out. If I need to move the design, I will exit, move the design and then do a trace again until I get it exactly where I want it.
When you select the trace option, if you push the green go button, it will stitch in each corner. I personally don't like the stitching so I use the forward button. That will move the needle forward to the next position. I do that and make sure it's positioned where I want it. ****Not sure which button is the forward button? You have the start / stop light, the one right above that is the backup button and the one directly about that, looks like 2 needles is the forward button.
Once you are lined up then push Start and let her go.
Once complete, take off the machine, turn the tote right side out, place on frame, and you are done.
These are so fun and easy to make.
Souces: